

Introduce:
Screwing into drywall ceilings may seem like a challenging task, but with the right tools and techniques, it can be done safely and reliably. Whether you’re installing a ceiling fan, hanging a light fixture, or attaching shelves, this guide will give you all the essential information you need to make the project a success. By following these steps, you can avoid damaging the drywall and ensure a secure installation.
Learn about drywall:
Gypsum board, also known as drywall or plasterboard, is a commonly used material in modern construction. It consists of a gypsum core sandwiched between two layers of paper. While it provides an economical and versatile solution for interior walls and ceilings, it is not as strong as traditional plaster. Therefore, care must be taken during installation to prevent damage.
Gather the right tools:
Before starting, make sure you have the following tools and materials ready:
1. Drill with a drill bit suitable for drywall.
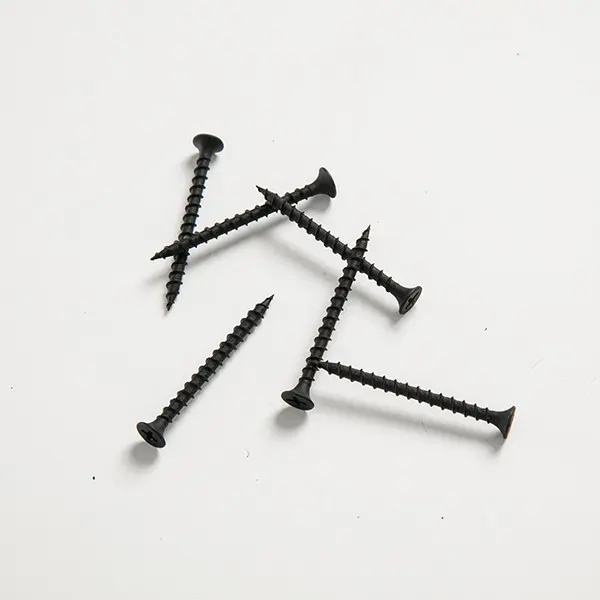
2. Screws suitable for the task (length depends on the weight of the fixture being attached).
3. Anchor bolts (especially for heavy loads or when studs are not available).
4. Screwdriver or screw gun.
5. Ladders or platforms.
6. Pencil and tape measure.
Determine the ceiling frame:
To ensure a safe and secure installation, the positioning of the ceiling frame or studs is critical. Use a stud finder or tap lightly on the ceiling until you hear a solid click, indicating the presence of a stud. Typically, studs are placed every 16 to 24 inches.
Mark points and prepare:
Once you’ve located the studs, mark their locations with a pencil. This will serve as a guide for screw placement. If your fixture needs to be placed between studs, use appropriate anchors for added support. Measure and mark where the screw or anchor will be inserted.
Drilling and installation:
Once the marks are in place, it’s time to drill the holes. Using an appropriately sized drill bit, carefully drill through the drywall at the marked points. Avoid applying too much pressure or drilling too deep, as this may cause cracks in the ceiling.
After drilling, insert anchors (if required) or screws firmly into the holes. Use a screwdriver or screw gun to tighten it until it is securely seated. Be careful not to overtighten as this could cause the drywall to crack or crack.
Final steps:
Once the screws or anchors are securely in place, you can move on to attaching the fixture to the ceiling. Follow the specific light fixture manufacturer’s instructions to ensure proper installation. If necessary, adjust the positioning so that it is level.
In conclusion:
Screwing into plasterboard ceilings may seem daunting, but with the right tools, knowledge, and gentle handling, it can be done safely and reliably. By identifying the ceiling framing, marking the appropriate points, and using proper drilling and installation techniques, you can successfully attach fixtures and objects to drywall ceilings. Remember to always be careful because drywall is fragile and can crack or crack easily.
Post time: Sep-05-2023